Yellow daisy, oh yellow daisy – please tell me about fills and flags! How does one use them effectively?
Good question sighs my daisy. An answer or two…
One can shoot anything straight without flash in good daylight and get okay results. I’ve read a load of articles in the last few months saying that bright sunshine is bad, bad, really bad, for color saturation when shooting flowers or anything for that matter – true often, but not always so.
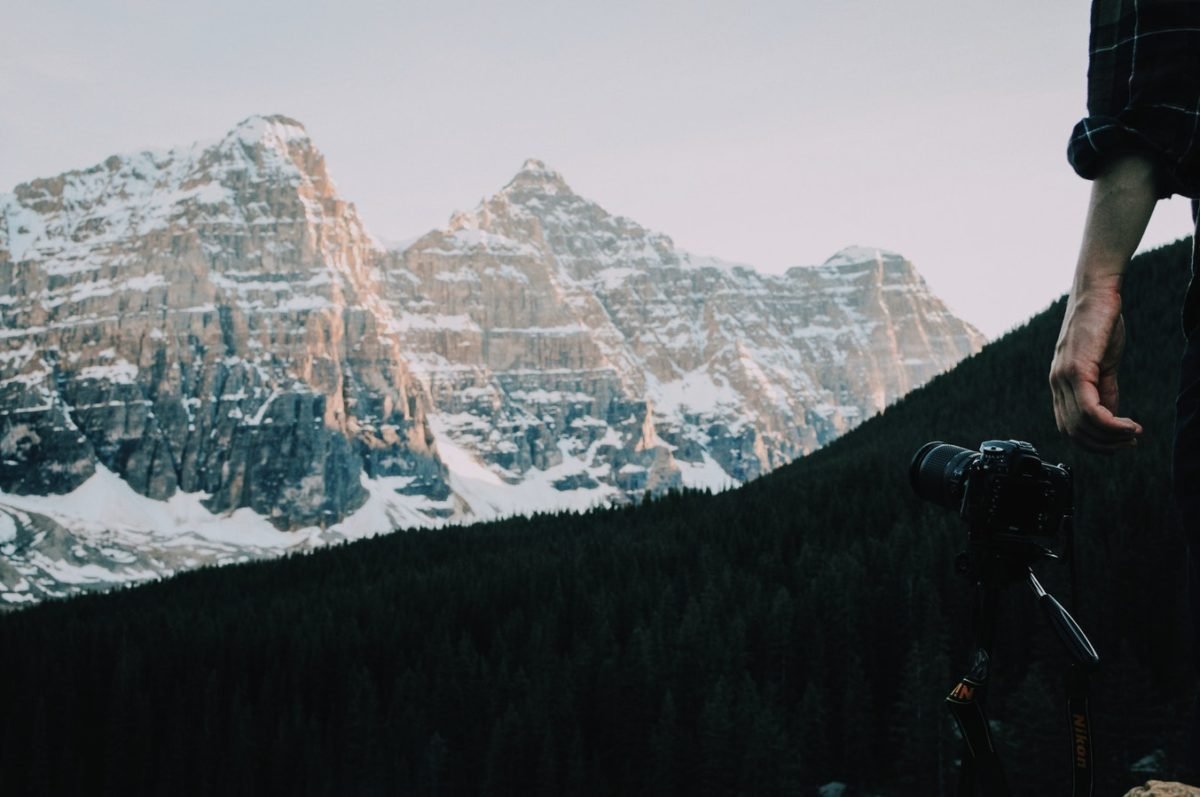
One needs to consider all sorts of things – purpose, time of day, result required, etc! Dawn and dusk produce warm, shadowy light and if one wants to take a landscape photograph of note, this would be the ideal time to do it…using a tripod of course! Shutter speeds slow down in order to get the depth of field required, f16 or even f22, so one is often shooting at ¼ or ½ a second. I’ve met a few people who can handhold shutter speeds that slow but most of us…never in a million years! In the landscape world tripods rule okay!
I know, I know, ironic considering that I spent a bit of Mild Obsession #2 justifying my desire to shoot unfettered by a three legged monster. I did say in my defence, though, be consistent. Part of that consistency is recognition of the tools needed in each particular situation. Life is a balancing act, no more so than in the world of photography.
Another natural lighting situation to consider is sunlight mid-morning to mid-afternoon (harsh front light, but often awesome backlight), tricky at the best of times but even this light can be used well and effectively if one knows how to control it.
A really good way to learn lighting in controlled circumstances is to use angle poise lamps and a small subject on a plain background. For my subject I chose a yellow daisy…not the same one plucked from a faraway field, no, a yellow painted tin daisy, beautiful nonetheless, which I stood up on a piece of white A3 card!
What about color balance you cry? At the risk of being boringly repetitive…digital technology…white balance (WB)… All hail the little tiny green men inside one’s camera, running around changing the color gels so that we can shoot color corrected images no matter what the light source. Incredible stuff!
Try this…
Grab a plain backdrop, a cotton sheet, piece of white card or anything that detracts as little from the subject as possible. Take your subject, place it on your backdrop not too close to the background, set up an angle poise lamp to the left side of the subject and point the light directly at the subject (preferably slightly above). You should be producing huge, harsh shadows. Interrogation time!
Now grab a piece of white card and line it up side on to your subject on the other side from the lamp and move it around until the shadows on the subject are softened to some degree .i.e. fill…The more one can soften the light on subject the better, so next step is to soften the source.
Turn the angle poise around pointing away from the subject angled 45 degrees up, then place a piece of white card in front of it reflecting the light back toward the subject – hey presto softer light -much softer. Soften things even more by playing with more fills on the other side of the subject too. A good soft result, not so dramatic perhaps, but eminently flattering.
I hasten to add at this point that I have done fashion shoots in the past using just harsh direct light, emulating movie-lighting of the 30’s, and achieved gorgeous results. It all comes down to control i.e. positive decision making rather than negative.
Play with this studio lighting setup in miniature until you get a feel for it. There are so many possibilities…
Try this too…
Shine two lamps at the center of your background, one each side, angled at 45 degrees to the plane of the background. Make sure that your subject is flagged to stop any light falling directly onto it. How? Place black card (flags) on each side of the subject (slightly back of the subject) showing the background clearly but not allowing light from the lamps to spill onto the sides of the subject. Now place two pieces of white card in front of the subject facing the background. Leave a small gap to shoot through.
Result?
A subject only lit by backlight and reflected light from the card in front. It’s a really good way to produce a backlit daylight feel. I use it all the time with studio shots of people. It can be fantastically flattering, if done well.
Play! Play lots. Light control is very satisfying when you get the hang of it.
To learn how to translate this lighting control to daylight conditions and to find out more about flags, scrims and other goodies, keep a lookout for Flower Pictures – A Mild Obsession #4.
Remember always – good lighting is good lighting period. Sounds obvious, I know, but real easy to forget.
See the beauty!
Copyright 2005 Patrick Heathcock
Submitted by:Patrick HeathcockSometime commercial photographer London, fulltime flower art photographer and web designer living in the southern semisphere, soaking up the sun. Visit http://www.aflowergallery.com to view the yellow daisy and more! |

