The lens aperture is a measure of how much light the lens will let through into the sensor in the camera body. The bigger the aperture is, the more light will shine through. Using a bigger aperture also results in less depth of field (depth of focus, DOF). If it’s difficult for you to remember, just think of the small, pocket-sized digital cameras you can get nowadays. They tend to render everything in focus opposed to the more sturdy, professional single-lens-reflex (SLR) cameras that have the ability to create soft, out-of-focus (OOF) areas behind the main subject. Big means plenty of light-sensitivity together with a narrow focus area.
The aperture is measured in terms of f-stops and this can perhaps be a bit confusing since a smaller f-stop is equivalent to a larger aperture. It is usually written like this, the scale going from large aperture to small aperture:
f/1.4, f/2, f/2.8, f/4, f/5.6, f/8, f/11, f/16…
These are the standard values, separated by one unit called an f-stop. Each lens has a maximum aperture and can be stopped down from there to gain larger depth of field and to set the exposure (which it does together with the shutter and ISO speed). Another good reason to stop down your lens (to use a smaller aperture) is that the lens usually works better when stopped down 2 to 4 stops from it’s maximum value. It draws sharper and lessens unwanted effects such as chromatic aberration and vignetting. Using a lens wide-open so to say, is rarely a good idea unless you are pressed for light or using an absolute top-of-the-line lens.
A fast lens, you say?
Sometimes the large-aperture lenses are also referred to by photographers as fast lenses. Strictly speaking this is nonsense since it’s still a piece of glass and not a racing car! But what it means is that with a large aperture, more light will come in allowing for a faster shutter time in the camera. The lens itself is in no way fast, it’s just easier to say that the lens is fast.
With a fast lens, you can use a high shutter speed, ie. in the thousandths, 1/1000 sec or less. This allows you to really capture moments that’s gone in the blink of an eye and opens up a new world of things that happen too quickly for the human eye to catch.
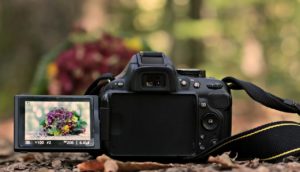
As is now evident, the depth of field is directly related to the lens aperture. Having one of these fast lenses on your D-SLR camera gives you lot’s of creative possibilities. One of the big challenges in serious photography is to separate your main subject from all the background clutter, to focus the viewers attention on the subject without distractions. To get a blurry background, set the aperture quite high, go a little close to your subject (without exaggerating the perspective too much) and allow some distance between your subject and the background. It’s important to remember that the placement of you, your subject and the background also plays a role in how much blur-effect you get. It’s not only about what lens aperture you are using.
Bokeh
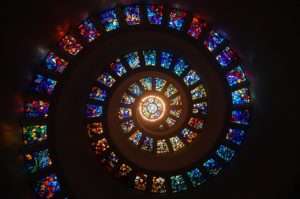
Ok, so now you have an out-of-focus background. But there’s a bit more to it than that. (Admittedly, we are moving into the subtler details now.) If you look at the out-of-focus areas of different photos, you’ll see that it can look quite different. Some lenses have a really nice, soft, smooth and silky way of rendering the out-of-focus details while others have a tendency to render hard rings and edges around high-contrast objects. This can be a bit distracting to look at although it is somewhat subjective. The quality of the out-of-focus areas is generally called bokeh and is largely decided by the way the lens is constructed, how many aperture blades it has and what f-stop you are using. Photo aficionados can debate at length about the quality, characteristics and effects the bokeh has on a photo while more normal people would give far more importance to the focused areas of the photo. In some genres though, it does play a significant role. In portrait photography, wildlife photography (using long tele-photo lenses) and macro photography the silky bokeh can really be the dot that makes the i, an add a magical touch that’s hard to pin down.
Try to incorporate some bokeh awareness into your photography and there’s most likely improvements to me made.
Submitted by:Morten SvenningsenThe author, Morten Svenningsen, is a professional freelance photographer in Nepal. He is offering a free tutorial and an eBook on photography from his web site, http://www.msmediaservice.com, along with fine art prints and more. |


